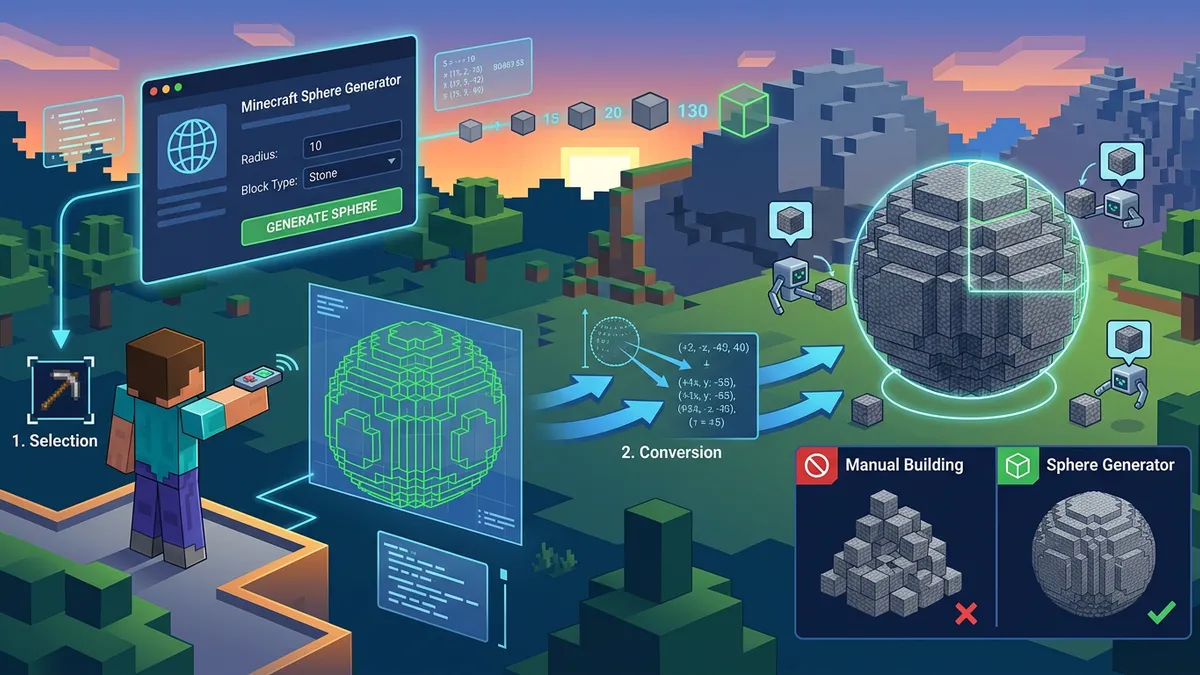
How Do I Build a Sphere in Minecraft?
You build a voxel sphere by stacking flat circular slices of different diameters on top of each other.
Understand the Layer Slices
A sphere of radius 10 has a diameter of 21 blocks. You start at the middle layer (Y=0), which is a flat circle of diameter 21. As you move up to Y=1, Y=2, and so on, the radius of each layer decreases based on the sphere equation. The generator calculates these circle sizes automatically so you can build a sphere in Minecraft without doing any math.
Follow the Grid Grid Pattern
Select your radius using the slider. Open the Layer View tab and start building from the bottom-most layer. The interactive grid shows you exactly where to place blocks on a grid. Once you finish a layer, move the slider up one step and repeat the process.
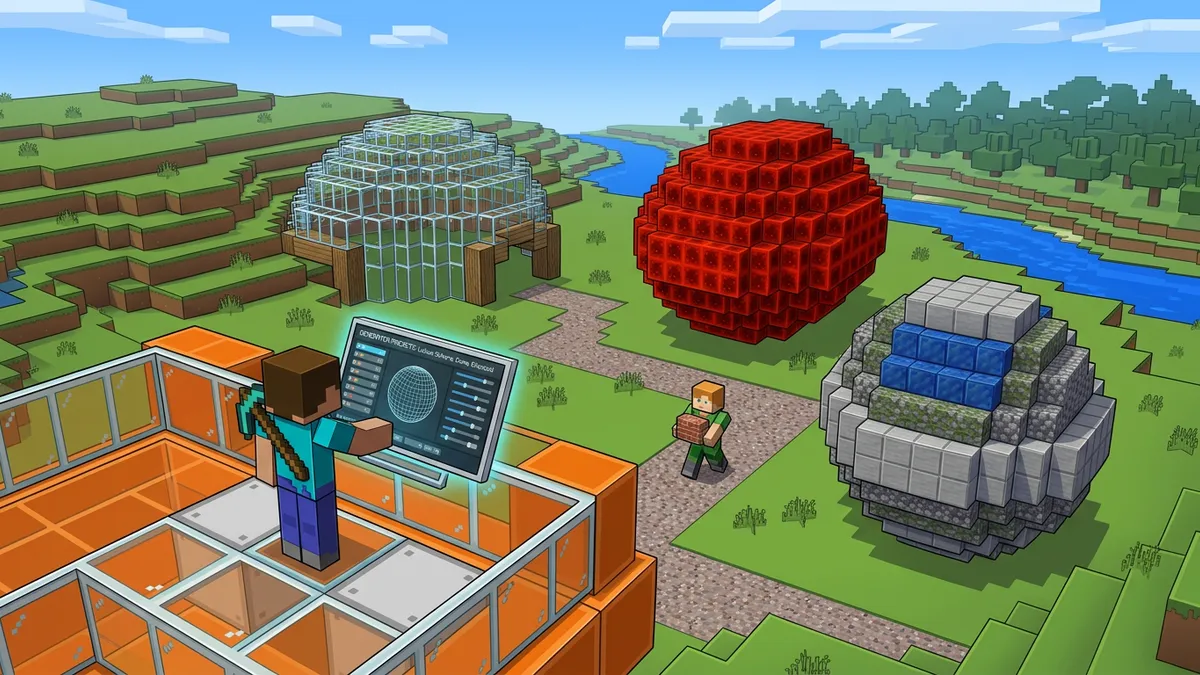
What is the Difference Between Solid and Hollow Spheres?
Hollow spheres leave the inside empty to save blocks and create room for interior floors, while solid spheres fill every single block coordinate.
Save Your Resources
For a sphere of radius 8, a solid sphere requires 2,171 blocks, whereas a hollow Minecraft sphere needs only 842 blocks. That saves you over 60% of your resources! The generator calculates these building material stats instantly so you know exactly how many chests of stone or glass to gather before starting.
Interior Space Options
Hollow spheres are ideal for bases, mob farms, and custom portals because you can build spiral staircases, storage rooms, or crop farms inside them. Solid spheres are best for small decorative planets or statue details where interior access doesn't matter.
How Do I Make a Dome or Hemisphere in Minecraft?
You make a dome by using the half-sphere option, which cuts the bottom half of the sphere and starts building from the center slice upward.
Perfect Domes and Roofs
Domes are highly popular for observatories, underwater bases, or roofs of temples. A hollow dome or hemisphere block layout of radius 12 requires exactly 1,298 blocks. It starts with the widest layer at the bottom and tapers to a single block at the top.
Coordinate Alignment
Ensure you align your dome's center block with the center of your building base. You can toggle the coordinate view in the options panel to see the exact offsets from the center block, making it easy to align the voxel coordinates with your existing base.
Can I Use Commands to Generate Spheres in Minecraft?
You can use WorldEdit commands to instantly spawn spheres without placing blocks manually if you have server admin permissions.
WorldEdit Shortcuts
If you have WorldEdit installed on your server, typing //hsphere stone 10 instantly spawns a hollow stone sphere with a radius of 10 around your character. This WorldEdit sphere command is about 50 times faster than placing all 1,300 blocks by hand. For solid spheres, simply remove the 'h' and type //sphere stone 10 instead.
Vanilla Command Alternatives
If you are playing vanilla Minecraft in creative mode without mods, you can copy the generated fill commands from the Commands tab. These commands use the native /fill syntax to help you block out the center coordinates of each layer quickly.
Step-by-Step Instructions
- 1Open the Minecraft Sphere Generator on your browser.
- 2Adjust the radius slider (between 1 and 20 blocks) to set your desired size.
- 3Toggle between Hollow and Filled modes depending on your resource budget.
- 4Select Sphere for a full globe or Hemisphere for a dome shape.
- 5Go to the Layer View tab to browse the layout layer-by-layer.
- 6Select Y-offset levels to see the circular block grids for each layer.
- 7Place blocks in your game following the pixel grid alignment.
- 8Use the 3D Preview tab to rotate the voxel model and double-check your curves.