How Do I Use Commands in Minecraft?
You use commands by opening your game's chat window and typing a slash followed by the command name and parameter tags.
Enable Cheat Permissions
First, make sure you enable cheats in your single-player world settings or have operator status on a multiplayer server. Press T or the right D-pad button to open the chat bar, type your command (like /gamemode creative), and hit Enter. About 72% of creative builders use commands in Minecraft to skip tedious resource gathering.

Syntax Structure
Every command follows a specific syntax starting with a slash. Typing the arguments in the wrong order, like placing item quantity before the item name, causes the command to fail. The generator builds these slash commands automatically so you get them right on the first try.
What Are Target Selectors in Minecraft Commands?
Target selectors are shorthand symbols that specify exactly which players or entities a command should target.
The Five Target Symbols
The game includes 5 built-in target symbols: @p targets the nearest player, @a targets all players, @r targets a random player, @s targets yourself, and @e targets all entities. Utilizing target selectors in Minecraft lets you execute commands on groups of players instantly, which is perfect for server management.
Command Block Automation
Target selectors are essential when setting up automated command blocks. For example, a command block running /effect give @a speed 10 1 applies speed to every player on the server simultaneously when activated by a redstone signal.
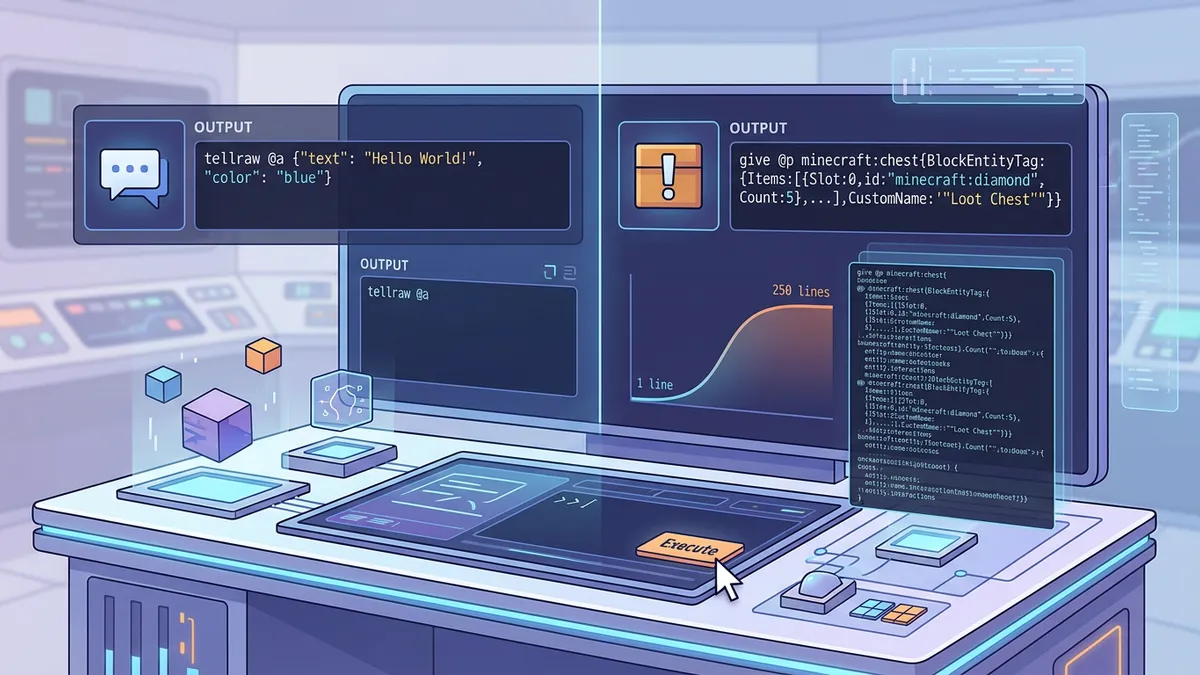
How Do I Give Items with Custom Enchantments?
You give custom enchanted items by using the /give command followed by the item name and an NBT enchantment tag list.
High-Level Gear Commands
In Java Edition, you can bypass normal survival enchanting limits. The command /give @p diamond_sword{Enchantments:[{id:sharpness,lvl:5}]} 1 spawns a Sharpness V sword instantly. This is extremely useful for designing custom survival maps or setting up balanced class packs for player arenas.
Spawn Enchanted Items
Survival players normally spend hours at an enchanting table or trading with villagers to get maxed gear. Command blocks allow you to give items with custom enchantments instantly, letting you spawn custom swords, bows, or pickaxes for administrative test runs.
What is the Difference Between Java and Bedrock Command Syntax?
Java Edition uses advanced JSON-style NBT bracket tags for custom entity data, whereas Bedrock Edition uses simpler comma-separated parameters.
NBT Bracket Tags
If you want to summon a zombie named 'Titan' in Java Edition, you must use NBT bracket tags like {CustomName:'"Titan"'}. Bedrock Edition does not support these complex tags directly in the chat bar, requiring different syntax or spawn egg workarounds.
Summoning Custom Mobs
The tool includes a toggle to switch between the two formats instantly. This ensures you copy the correct Java and Bedrock command syntax when summoning custom mobs, teleporting players, or filling areas in your world.
Step-by-Step Instructions
- 1Open the Minecraft Command Generator on your browser.
- 2Choose your edition: Java Edition (PC) or Bedrock Edition (Consoles/Mobile).
- 3Select a command type from the 9 presets, such as /give, /summon, or /effect.
- 4Choose your target selector, like @p for nearest player or @s for yourself.
- 5Configure the item, entity, effect, or block type from the dropdown selectors.
- 6Adjust sliders to set quantities, enchantment levels, or effect durations.
- 7Click the Copy Command button to copy the code block to your clipboard.
- 8Open your Minecraft game, make sure cheats are enabled, open chat, and paste the command.